Baked Zucchini Parmesan Rice Balls

Zucchini & Parmesan Rice Balls (Arancini)

I recently made some zucchini & parmesan arancini (rice balls) in the traditional way (i.e. fried), and they were absolutely delicious. I’ve wanted to make them again, but I’m in the process of trying to eat a little healthier to shed some pounds, and fried food just doesn’t fit that bill. So last night I challenged myself to make the same delicious rice balls, but to bake them. Many times foods that are typically fried don’t transition well into the world of baking, usually lacking the “crisp factor”, but I was moderately confident that I could make it happen… and I was successful! So here’s my recipe for a healthier twist on rice balls, hope you enjoy.

Makes 8 medium sized rice balls

Ingredients (rice):
2tsp Olive Oil
1c Arborio Rice
2 1/2c Chicken Stock, room temp
1tsp Salt
1tsp Ground Black Pepper
1tsp Garlic Powder
1/3c Grated Parmesan
1 1/2c Shredded Zucchini (use a large cheese grater)
1 Egg Yolk

Ingredients (coating):
1c Panko
1/2tsp Salt
1/2tsp Ground Black Pepper
1/2tsp Garlic Powder
1/2tsp Oregano
2tbsp Grated Parmesan

The first thing you’ll need to do is make the rice, and do so about three hours before you’ll be serving them. Why so long? Well, you need to cook the rice, then cool it in the refrigerator so you can shape it, and then bake it… So yeah, about three hours.

One other note, you’ll notice that next to the chicken stock in the list of ingredients I have “room temp” shown. Even though we’re using similar techniques here, we’re not making traditional risotto so the stock doesn’t need to be warmed on the stove. However, you also don’t want to use cold stock right out of the fridge. If you did so, every time you add the stock to the rice it will halt the cooking process because you’re introducing something cold to the hot mixture. This leads to a gummy texture. That’s a big no-no!

In a medium pot heat the olive oil on high. Once hot add the Arborio rice, salt, pepper and garlic powder. Saute the rice on high for three minutes, stirring periodically, then add one cup of chicken stock and reduce the heat to medium-low. Simmer the rice, uncovered, and stir regularly. Whenever the liquid is almost entirely absorbed add another half cup of stock. Continue stirring regularly and adding stock as needed. It should take approximately 25-30 minutes to get the rice fully cooked. Begin to periodically taste the rice to check for doneness once you hit the 20 minute mark. When it’s done it will be soft to bite but with just a touch of crunch in the center. Also, at this point the rice should have a slightly creamy texture, but not wet. If you still have a lot of liquid in the pot (which you shouldn’t!) then continue to simmer until cooked off. Once the rice is done remove it from heat and add the parmesan, shredded zucchini and egg yolk, stir well. Allow to cool at room temperature for about 20 minutes then place in the refrigerator for 1 hour, or maybe just a touch longer. You want the rice fully cooled before you start to form the balls.

While the rice is cooling you can make your coating. In a medium bowl combine all of the ingredients shown above, stir well, then set aside.

Heat your oven to 400F.

Lightly grease a baking sheet.

Once the rice is fully cooled it’s time to start forming the arancini. I used a 1/3 cup measuring scoop to maintain consistency in size, which yielded 8 portions. With your hands roll each portion into a ball, then individually put them in the bowl with the coating. Gently roll the balls in the panko mixture until thoroughly covered, then place on the baking sheet. Place the rice balls in the oven and bake until lightly browned, approximately 45-50 minutes. Remove from the oven and allow to cool for 5 minutes before serving.

There you have it… Simple, delicious, and much healthier than the typical fried version! Serve them as a snack, an appetizer, or a side for your meal. Eat them as is or serve with a dipping sauce. I served mine set in a pool of ratatouille and it was delicious. You could also do regular tomato sauce, or even get spicy with a little Sriracha mayonnaise… Whatever floats your boat!

Buon Appetito!

Panko Shrimp Cakes

Panko Shrimp Cakes

So the other night I made a little surf ‘n turf with some grilled soy & sriracha marinated strip steak and panko shrimp cakes… Little did I know that the Instagram and Facebook responses on the shrimp cakes would be so strong, with people clamoring for the recipe! Awesome, thank you for your support and interest! Well, you asked for it, here it is… I’ve also included the tomato, onion & jalapeno salsa that I topped the cakes with.

Makes 2 large cakes, or 4 small

Ingredients (cakes):
1/2lb Shrimp, peeled, veined & chopped
1/4c Fresh Parsley, chopped
1/4c Fresh Cilantro, chopped
1/4c Red Bell Pepper, chopped (about half of a medium sized pepper)
1/4c Jalapeno, seeded & chopped (roughly one jalapeno, leave seeds if you want to make the cakes spicy)
4tbsp Mayonnaise
1tsp Salt
3/4tsp Ground Black Pepper
1/4tsp Garlic Powder
3/4c Unseasoned Panko

2tbsp Olive Oil for sautéing

Ingredients (salsa):
1c Fresh Tomato, diced (I used a combination of grape & small vine ripened)
1/2c White Onion, thinly sliced
1/4c Jalapeno, seeded & chopped
1/2tbsp Extra Virgin Olive Oil
1/2tsp Salt
1/2tsp Granulated Sugar
1/4tsp Ground Black Pepper

Ok, so the first thing we need to do is combine the ingredients for the shrimp cakes, because they’ll need to sit in the fridge for an hour. Combine all of the ingredients listed for the cakes in a bowl and mix thoroughly. Cover with plastic wrap and put in the refrigerator. The reason this mixture needs that much time is because of the panko. It needs time to absorb the moisture from the mayonnaise so it can bind the cakes. If you just throw everything together and immediately start cooking it will all fall apart.

Next let’s move on to the salsa, which should be made 30 minutes prior to serving to allow the flavors to come together. Once again, just combine all of the ingredients listed above and mix well. Cover with plastic wrap and place in the fridge.

Wow, isn’t this easy!?

Heat your oven to 375F.

Okee dokee, let’s get this ball rolling. Get the shrimp mixture out of the fridge and scoop out the portions by hand, rolling them into a ball. As far as molding them, if you have ring molds that’s great. You can use a 3″ mold for two large cakes or a 2″ mold for four smaller ones. Just place the balled shrimp mixture onto a flat surface inside of the mold, then gently press it to fill the space. If you don’t have molds, no big deal… Again, just put the balled mixture onto a flat surface and gently press down to slightly flatten them. Don’t make them too think or they’ll cook faster and possibly dry out.

They should look something like this…

Panko Shrimp Cakes, before cooking

Heat the olive oil in a sauté pan on high. Once hot place the cakes in the oil, cook until lightly browned (about two minutes, panko cooks fast!), gently turn over and repeat. Once both sides are browned put the cakes in the oven and bake for ten minutes to cook the center. Put ’em on a plate, get some of that salsa on there, and you’re all set. Quick, easy, delicious… doesn’t get much better. Use them as an appetizer, a side, or as the main dish.

Enjoy!

NY Strip & Shrimp Cake

Quinoa Salad (w/ wine pairings)

Summer Quinoa Salad

The other day one of our readers asked for a chilled quinoa salad recipe… Well Jen, ask and ye shall receive (and don’t worry, I jotted down a note about the Jasmine and Basmati rice too… lol)! I made this the other night and it came out absolutely delicious. Have it as a side, or as the main dish. It’s flavorful and satisfying, but light and healthy. The vegan and gluten free aspects were not intentional, but I’ll consider that an added bonus since many readers have also been asking for vegan and gluten free recipes as well. Win-win! Oh yeah, and it’s super easy to make… Enjoy!

This should be prepared three hours prior to serving to allow ample time to cool, assuming you want it chilled. It can also be served warm if desired.

Serves 3-4 as an entrée, or 8-12 as a side.

Ingredients (salad):
1 1/2c Quinoa
4c Vegetable Stock (preferably low sodium)
2tsp Salt (if you found low sodium stock, otherwise start with 1tsp and add more to if needed)
1tsp Ground Black Pepper
1tsp Garlic Powder
1tsp Yellow Curry Powder
1 Yellow Squash, diced
1 Zucchini, diced
1/2 Medium Eggplant (or one small eggplant), diced
1/3lb Green Beans, blanched & diced
4 Plum Tomatoes, diced
2tbsp Extra Virgin Olive Oil

Ingredients (to drizzle over the top when serving):
Lemon
Extra Virgin Olive Oil

Alrighty, let’s get started! Put the quinoa, salt, pepper, garlic powder, curry powder and vegetable stock in a large sauce pot (remember, you’ll be adding more ingredients in a bit so you’ll need the room to stir), cover and bring to a boil. Once it starts to boil uncover the pot and reduce the heat to medium. Cook for 15 minutes, stirring occasionally. After 15 minutes the stock should be mostly gone and you should see white halos developed on the quinoa. At this point add the two tablespoons of extra virgin olive oil, squash, zucchini and eggplant to the quinoa. Reduce the heat to low, put the cover back on, and cook for another 10 minutes, stirring occasionally. Once the 10 minutes is up put the pot in the fridge to cool.

Okee dokee, so the next step is to blanch the green beans. Cut the tips off if they’re not already cleaned. Set up a large bowl with water and ice. Get water boiling in a medium pot and drop in the beans. Cook the beans in the boiling water for one minute, then drain them out and immediately submerge them in the ice bath. The point of this is to quickly stop the cooking process to keep the beans crisp, vibrant and fresh. Once they’re chilled pat them dry with a towel, dice them, then toss them with a pinch of salt and pepper and put them in the fridge. You’ll be adding them at the end, just before serving.

As I stated above, you’ll want at least three hours to really let this cool down. When you’re ready to serve just stir in the diced green beans and tomatoes, drizzle it with a little extra virgin olive oil and some fresh lemon juice, and you’re all set! Simple and delicious, can’t ask for more.

Ok, so let’s talk vino. If you’re using this as a side dish, then that could flip the switch a bit because your protein will likely dictate the ideal wine… So I’m just going to give you pairings that work well with the salad by itself. You don’t want anything too big with this, but at the same time you don’t necessarily want anything too light and crisp either. The salad has a beautiful earthiness to it from the vegetables, as well as an inherent earthiness from the quinoa itself, and that should be the main basis for the pairing. Listed below are my thoughts…

Filippi Castelcerino Soave Classico, Veneto, Italy – Normally I’m not the biggest fan of Soave’s. They’re typically very aromatic and are very fat in the mouth with overt honeyed notes and little-to-no balancing minerality or acidity. The Soave’s of Filippo Filippi (yes, that’s his real name), however, are anything but typical. Filippi’s estate and vineyards are located in Castelcerino, which is the highest elevation region in the Soave DOC. The family has been making wine from these estates since the early 1900’s, but it wasn’t until 2003 that they started bottling under their own name. On the nose the Classico is very typical Soave, being super aromatic, but the palate is a completely different story. The wine is medium bodied, and while there are honeyed notes evident, there are also beautiful hints of grapefruit pith, white peach and lemon zest, framed by crunchy minerality and subtle acidity. This is easily the most complex, yet well balanced, Soave I’ve ever had, and at the price it’s an absolute steal. PP Score: 90 (Retail $13-16) *Certified Organic

Michel Guigner Beaujolais, Beaujolais, France – Michel Guignier is a fourth generation vigneron from the Morgon AOC, within Beaujolais. For years Beaujolais has been associated with inexpensive, uninteresting juice, but Michel, along with a number of others, are striving to prove that not only can Beaujolais be complex, ageable and delicious, but that it can stand toe-t0-toe with it’s Burgundian brethren to the north! This is Michel’s entry level bottling, a predominance of which is declassified juice from his vineyards in Morgon. The nose and palate are mirror images, with distinct notes of tart cherry, macerated cranberry, pantry spice, black pepper and earth, balanced by subdued acidity and soft tannins. Hands down this is one of the better Bojo’s on the market at this price, but with only 550 cases produced each year it isn’t necessarily the easiest wine to find. PP Score: 89 (Retail: $12-15) *Certified Organic

Domaine du Bel Air Bourgueil “Jour de Soif”, Loire, France – This wine will forever hold a special place in my heart, as it’s the first Cabernet Franc that I ever truly enjoyed. Not to mention that its title, “Jour de Soif” translates to “drink the day”, which is essentially my favorite past time! Domaine du Bel Air is owned by the Gauthier family who have been producing wines from their 18 hectare estate for generations, but didn’t start bottling to sell until 1979. This is their entry cuvee, 100% Cabernet Franc from their youngest vines, approximately 20 years of age, aged in stainless steel to allow the fruit to shine and give it a refreshing brightness. On the palate you find notes of dark cherry, slightly tart raspberry, dried thyme and a hint of bell pepper. The wine is medium bodied but is a surprisingly light on it’s feet with a beautiful acidic lift and subtle chewy tannins adding depth and character. PP Score: 89 (Retail $13-16) *Certified Organic

So there you have it, my quinoa salad recipe as well as some gorgeous, yet moderately inexpensive, wines to pair with it. I hope you’ve enjoyed the read and that you’ll try the recipe and the wines. As always new content is coming soon. In the meantime crack open a bottle of Beaujolais (that is NOT Jadot or Duboeuf!!!), sit back, and relax. Life is short, enjoy it!

How to make a kickass burger!

How to make a kickass burger!

So one of the most common questions I get from my readers is “How do you make a really good burger!?”

You would think that good burgers would be simplicity itself, it’s meat on bread, but so many people get it so wrong, even restaurants. It would seem that the art of the burger has been lost on most of the world with many consumers relying on premade patties, most often of the frozen variety… ugh, disgusting.

Listed below are the do’s and don’ts for making great, kickass burgers, and trust me, once you’ve made you’re own the right way you’ll never buy premade patties again! Hell, you probably won’t even bother buying them out at restaurants anymore either.

Where’s the beef?

Obviously, the most important part of any burger is the meat. While you don’t need to go crazy getting ground Kobe, Wagu or tenderloin, good meat is key. Ideally I prefer to get my ground beef from a butcher, but in a pinch I do have a supermarket nearby that sells quality product. If you can get your hands on ground brisket or sirloin, fantastic, but quality ground chuck will serve the purpose as well.

Fat is your friend.

Besides quality there is one other key aspect of the meat necessary for a good burger… Fat. Yes, your meat needs to have fat if you want a tender, juicy, delicious burger. When buying ground beef you’ll see on the butcher’s tag, or on the supermarket label, two numbers shown like this: ##/##. These numbers signify the ratio of meat to fat. For a truly kickass burger meats that are 93/7, 90/10 and 85/15 need not apply. 80/20 is the absolute least meat/fat ratio that you should get, but if you can get your hands on 75/25 or 70/30 you’re in even better shape. Ok, maybe not better “shape” per se, but the burger will taste better… lol.

Why is fat so important? Two reasons. First of all, fat is necessary to keep meat tender. When you grill or sear burgers, the fat starts to render off and drip out of the meat. The higher your fat content, the more you’ll be able to retain and have a moist end product. Secondly, fat holds tons of flavor, and who doesn’t want more flavor!? Let’s face it, if you’re eating a burger then you’ve already thrown your diet out the window for that day, so you might as well enjoy it!

DO NOT… sorry, didn’t mean to yell. Do not overwork your meat.

A very common mistake among people that make their own patties is overworking the meat. What does “working the meat” mean? That’s when you’re mixing together your meat by hand. If you mix it too much, i.e. “overwork it”, then it will take on a gummy texture when cooked, almost like meatloaf. No bueno. If you’re adding seasoning or items into the meat itself and need to mix it together, do it gently and work it as little as possible. If you’re not, simply take the meat, roll it into a ball in your hand, press it down into a patty shape then gently press down the sides to secure the structure.

Size DOES matter!

I know, I know, for some things in life size doesn’t matter (at least that’s what they say), but with burgers it most definitely does. If you’re burgers are too small or too thin, then they will cook that much faster and lose fat more easily, and will easily overcook. I personally don’t make my burgers smaller than 6oz (1/3lb), but more often than not my burgers range between 8-10oz. This allows me to get a good crust on the outside of the burger to seal in the juices, without immediately overcooking the center.

 Seasoning, seasoning, seasoning…

Just like life, food needs spice… without it, it’s just blah. Too many people make the mistake of not seasoning their burgers, and relying on the toppings to create flavor. I toss seasoning directly into my hamburger mixture, but as I said above you have to be careful not to work it too much. For this reason most people form their patties and then season the outsides, which is fine as well. As far as what seasonings to use, obviously salt and pepper are a must, but the rest depends on what flavor profile you’re going for. Do you want to spice it up with some chipotle, wasabi powder or red pepper flakes? Or maybe some garlic powder and paprika? It’s all up to you, but for God’s sake whatever you do make sure you SEASON YOUR MEAT!

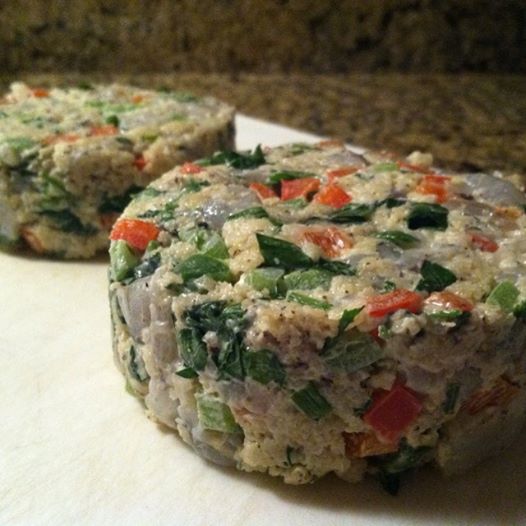
Also don’t be afraid to mix ingredients into the meat itself. I often add chopped jalapeno, scallion, roasted mushroom, etc. right into the burger mixture. Just make sure that whatever you add is either something that is safe to eat raw (since the middle won’t cook through), or if it can’t be that you’ve pre-cooked it. One of my absolute favorite things to do is precook bacon and mix it in for the ultimate bacon cheeseburger. Bacon inside, bacon on top… win/win!

Don’t be a Scrooge.

Huh? Where did we suddenly take a left turn into the world of “A Christmas Carol”!?!?

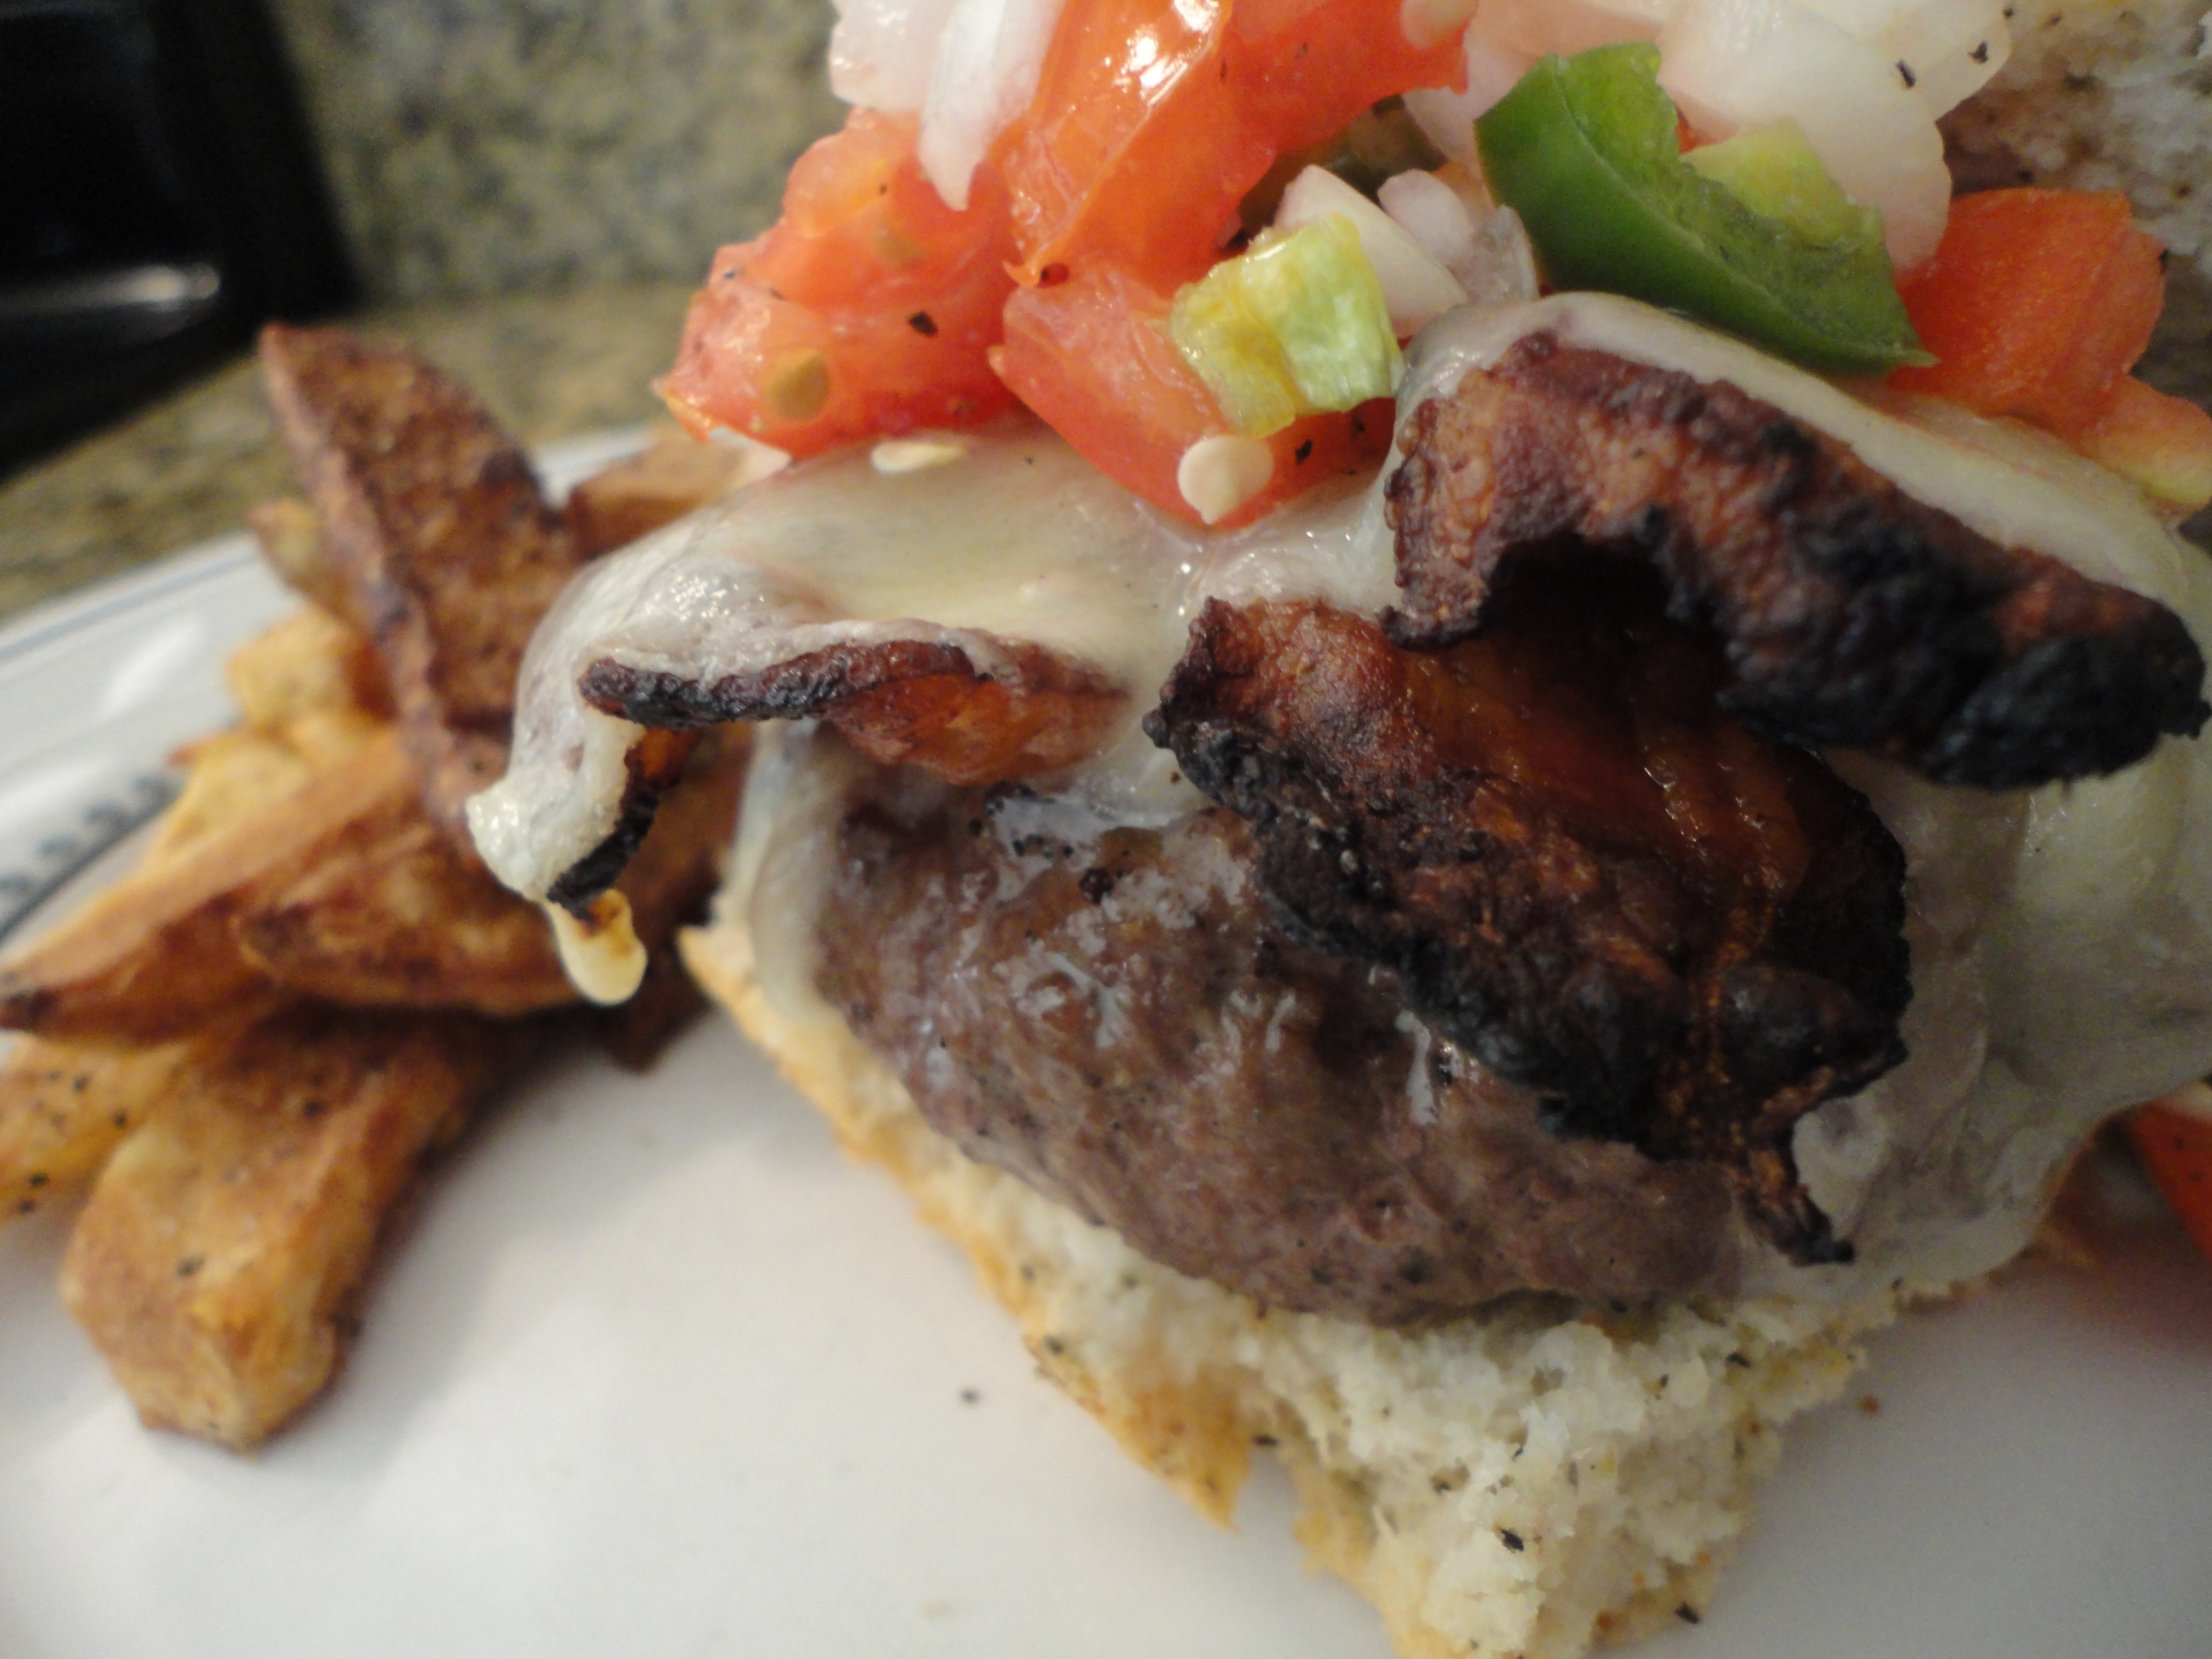
What I’m trying to say is don’t be cheap, don’t skimp. If you’re following my directions thus far then you have some pretty good meat and seasonings, why ruin it with cheap bread, cheap cheese, cheap toppings? If you want a kickass burger, you need kickass ingredients all the way around. DO NOT put your burgers on Wonder Bread buns. DO NOT use Oscar Meyer bacon. DO NOT use crappy American cheese… etc. etc. etc. Your kickass burger needs kickass bread. Kaiser buns, onion bread, focaccia, ya know, the good stuff. Making a bacon cheeseburger? Don’t use crappy cheap bacon. Get some nice thick cut manly, meaty, I dare my heart to seize bacon! Putting cheese on there? Don’t use Kraft singles. Get some good sharp cheddar or provolone, Manchego, brie… anything that screams melt me!

I think you get the picture.

Have fun with it!

Everybody is more than willing to play around with rubs and marinades on their steaks, chicken, ribs, you name it… but burgers are lucky to get salt and pepper. What!? Have fun, mess around, get crazy. One of my favorite burgers of all time had soy, chopped scallion, red pepper flake and ginger mixed into the meat for an Asian style, and it was delicious! Do you like Teriyaki steaks? BBQ chicken? Why not a burger the same way? Burgers are not meant to be boring. They are one of the ultimate blank canvases in the world of food, take advantage of that fact.

It’s gettin’ hot in here…

No, I’m not Nelly telling you to take off your clothes, unless you want to of course… but when it comes to burgers heat is definitely your friend. You need some high heat to get those outsides charred and that juicy flavor sealed in. If you’re cooking on the grill then I recommend no less than 450 degrees. If you’re searing them in a sauté pan get it on high heat with a little oil in there. For grilling I typically get some char on both sides, then turn off the grill and put on the cheese and shut the lid for a minute or two to let it melt. If you try to melt the cheese while the heat is still heavy on the burger chances are you’re going to overcook the meat.

Think of burgers as the exact opposite of ribs. Ribs you want low and slow to break down the meat… Burgers are already broken down and tender, so hot and fast is the way to go!

The cow is already dead!

My ultimate pet peeve is when people cook their burgers (or any meat for that matter) medium-well/well. I fail to see the point. At that stage you’ve lost all fat, all texture, all flavor. What you’re left with is a flavorless hockey puck. The cow is already dead people, you don’t need to kill it again.

One of my favorite overheard conversations of all time is the following… and shockingly the waiter was not fired, and the customer left extremely satisfied.

Waiter: “Miss, how would you like your burger cooked?”
Woman: “Well done.”,  as she hands him the menu.

The waiter pauses… then hands the menu back to the woman.

Woman: “I don’t understand, why are you giving me the menu back?”
Waiter: “Ma’am, do yourself a favor. If you want a well done burger just chew on the menu, it’ll taste the same and save you $12.”

The woman and her female friend gasp, the two husbands quietly try to suppress their laughs… moments of silence pass.

Woman: “Well, how do YOU think I should have it cooked!?!?”, somewhat angrily, somewhat curious.
Waiter: “Medium at the most, but ideally medium rare.”
Woman: “The only way I’ve ever eaten meat before was well done, I don’t know… That’s how I was raised.”
Waiter: “Trust me, you’ll thank me later.”

Needless to say, she ordered her burger medium rare and could not stop thanking the waiter after the fact. She gushed on how it was the best meat she’d ever had and how she would never order well done again. I was absolutely in shock. When I was a waiter I had always wanted to say things like that to people but never had the guts being that I needed to keep my job, but here this guy pulled it off and not only got away with it, but converted this woman to the path of righteousness! Bravo!

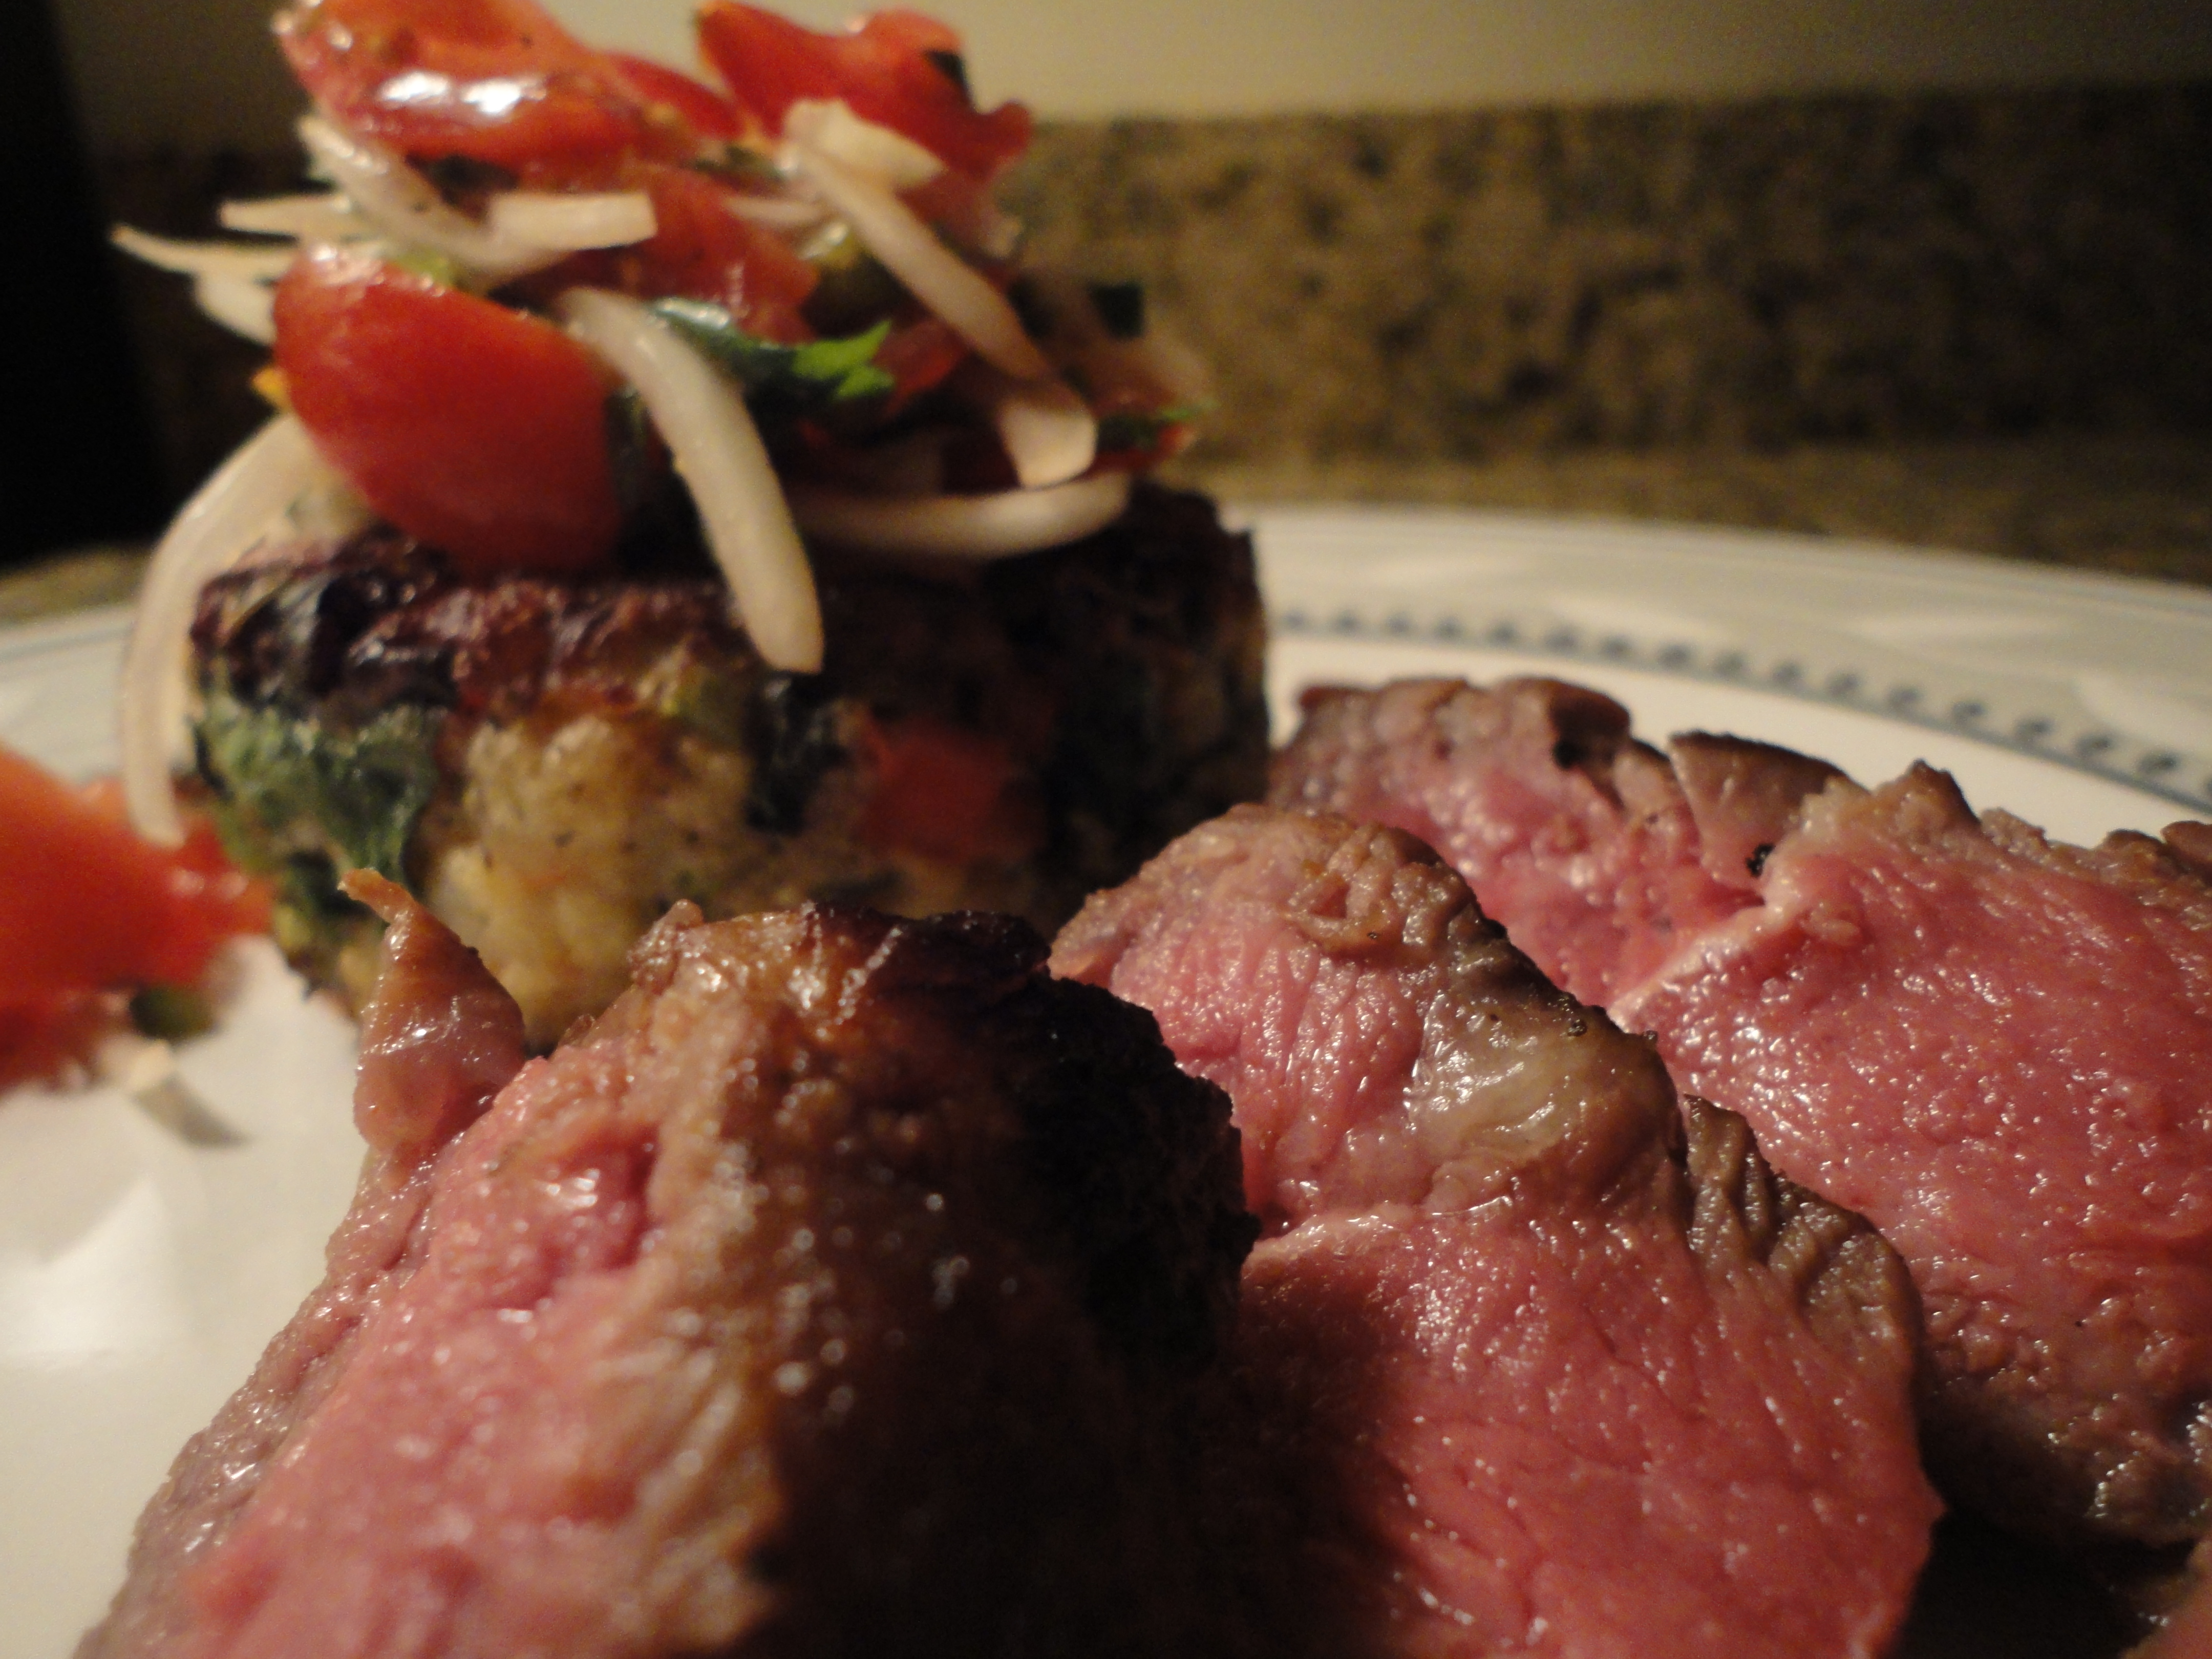
Burgers should be cooked absolutely no more than medium, and medium-rare is ideal. If you’re worried about the health ramifications, just stop. As long as you’re eating quality meat then the risk of getting sick is negligible in the extreme. The only reason that places like T.G.I.Fridays and other chains won’t cook meat below medium well is because they’re sourcing their beef from the cheapest provider they can find and can’t guarantee the quality of the product. Every year there are more E. Coli infections from raw vegetables than from undercooked meat. When’s the last time you cooked a bell pepper to a black husk before eating it? Exactly. You shouldn’t do it to your meat either.

The end…

So that’s it, the guide on how to cook a kickass burger. Hopefully you find what I’ve written useful and you’ll make use of it… especially those of you that cook your burgers until they’re culinary hockey pucks. And please, please, please STOP buying frozen hamburger patties!

As always, more content coming soon. In the meantime eat a medium rare burger and wash it down with a beer or a big red. Life is short, enjoy it!